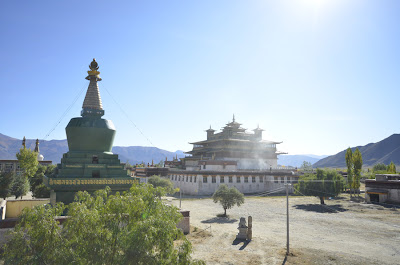
Samye Monastery is an extremely large complex and is shaped like the traditional Buddhist map of the world. The central temple represents Mount Meru and then it is surrounded by four major temples which represent the four cardinal continents. Those individual monasteries are accompanied by two subcontinents that each major continent has. Then there are two temples dedicated to the sun and the moon respectively. There are also four stupas. One is white, one red, one black, and one green:
The Building Myth
There is actually a legend about why Samye was constructed this way. Once upon a time, there lived a sorcerer in India who wanted a magic sword that could grant him the ability to fly. The only way to do this was to use a corpse. So, he did what any rational person would do: he hired help. He roped a Buddhist layman (maybe a monk) into assisting him. After ritual ministrations, the corpses tongue darted out. The assistants job was to grab the tongue. You can see why the sorcerer didn't want to do this himself. After two tries, the assistant failed. Tongues are slippery and hard to grasp! The sorcerer then informed him that if he didn't grab it a third time, the corpse would become invincible and begin a zombie apocalypse. This being an undesirable outcome, the assistant had the genius idea to clamber on top of the body and put his teeth right up against the corpses mouth. Sure enough, when the corpse's tongue darted out, he managed to crunch down hard, whereupon the tongue turned into the hilt of a sword. As someone who hates the feel of metal against teeth, I did not enjoy this part of the story.
Pulling the rest of the sword out of the corpse's mouth (he used his hand), the sword immediately took him flying to the peak of Mount Meru, which is at the center of the world. From there he was able to survey the whole of the Earth and saw the formation described above. After the assistant flew back down, he handed the sword over to the sorcerer who, as a thank you, gifted the body of the corpse to the assistant. Lest you think that the assistant got the short end of the stick, the body had conveniently turned into solid gold. He then used this gold body to pay for the construction of Odantapuri, a monastery in India modeled after the form of the world. Samye is based Odantapuri.
Highlights
When you go inside (warning, it's a tight squeeze), you'll see a wall with lots of signed names and a ladder that you can climb which leads to two statues. Facing these statues is a neat loft area. Careful when you climb and turn around to look at the loft area, the ladder is not the most stable.
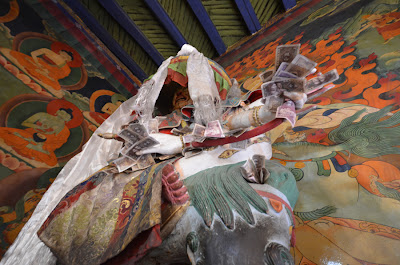
The khorra is a hallway type area that surrounds the main chapel. It is used for people circumambulating for merit. That is really worth walking through since there are these beautiful murals and, depending on the time of day, amazing blocks of light and shadow which highlight different parts of the murals.
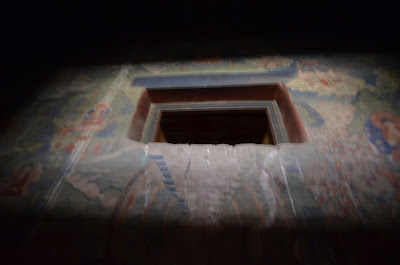 |
| Sorry it is blurry! It was dark and I didn't have anything to balance the camera on |
Another area worth seeing is the third and final floor. While it is screened off, it offers some great views of the different stupas (stick the camera right up to the intertwining wires).
 |
| The walk leading up to the stairs to the third floor |
 |
| Black |
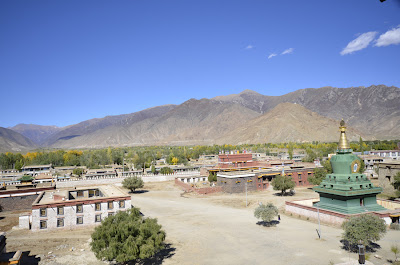 |
| Green |
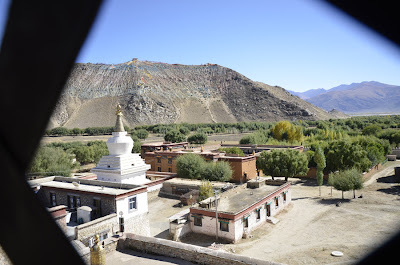 |
| White. Sorry, the wires weren't cooperative on this one! |
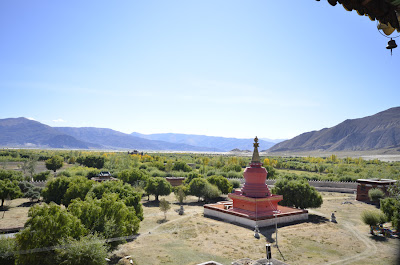 |
| Red |
Finally, after exiting the main compound and passing under the famous bell (it was a gift from an Chinese queen a long time ago), go to the Pehar Khordzoling (cort-zo-ling). Pehar is one of two central protector deities of Samye Monastery and the Khordzoling is his main abode. It has a special spirit house where he was reputed to keep the souls of the dead that he defeated in battle (Mortal Kombat style). Basically you walk up to this door and look into the little slit to see if you can spot the undead spirits. Alas, I saw nothing but a dusty dark room. It was still pretty cool though. Upstairs, there is his chapel and you can see more statues. On the second level, there is another set of stairs that leads to the top level. It's pretty great for pictures.
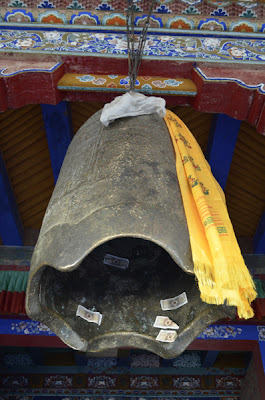 |
| The bell |
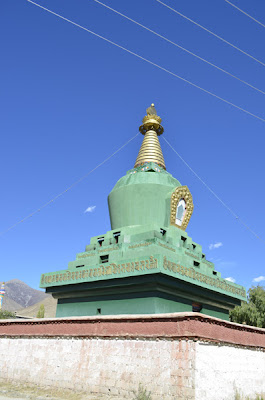 |
| Better view of the green stupa |
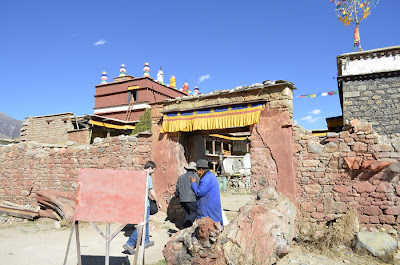 |
| The entrance to the Pehar Khordzoling |
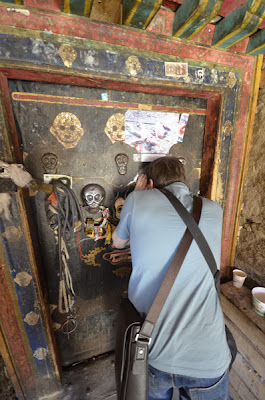 |
| Peering in the spirit door! |
 |
| The two main protector buddies: Pehar on the left and Tsiu Marpo on the right |
 |
| View from the top! |
 |
| I peeked |
 |
| I love the random goats |
If you want to and have time, you can go into the nearby green stupa and walk around it. We didn't since, at the time, we thought we were going to spend the night and I was anxious to go to Mount Hepori. We figured we would do it the next day. Likewise, I think you can go to the other stupas
but I’m not sure since we didn’t.


